Two Gelish Manis

Happy New Year everyone!!

I wanted to share with you two of my newest Gelish Manis. I’m so obsessed! I just can’t get enough!

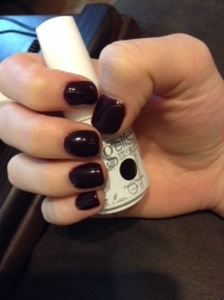
The first was delivered by dear old Santa Claus!

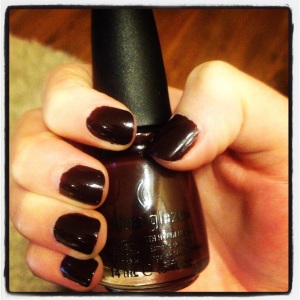
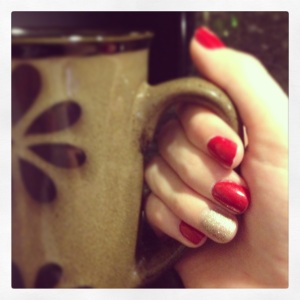
Gelish – Black Berry Cherry

20140120-094307.jpg

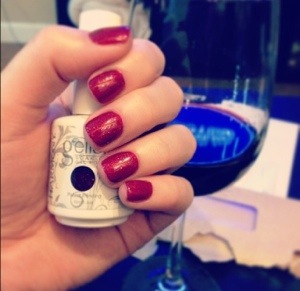
And the second I purchased on eBay for about $14.00 CAD.

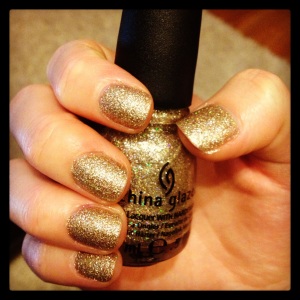
Gelish – Good Gossip

20140120-094425.jpg

What do you think of these new colours?

Stay tuned for a new mani coming soon!

Gelly Sandwich

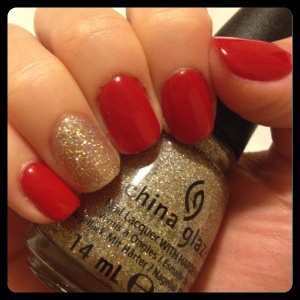
What is a Gelly Sandwich you ask? It’s when you use regular Nail Polish between layers of Gelish Base and Top Coat. This technique is easy to do and saves you from having to buy expensive Gelish polishes – just keep using your favourite regular polishes!


Here is my most recent Gelly Sandwich
IMG_2244

Want to know how to achieve this look? Keep reading….

What you need:

-Led Lamp for Gel Manicures

-Gelish ph Bond

-Gelish Foundation

-Gelish Top It Off

-Your favourite Nail Polish

-Cuticle Pusher

-Gelish Nail Surface Cleanse

-Nail File and Nail Buffer

1) Buff all shine off of your natural nails. Then file them to your preferred shape. Use nail surface cleanse to remove any dust and dirt.

2) Apply pH Bond to all nails

3) Apply Gelish Foundation to thumb first, then the rest of your nails

4) Cure under LED Lamp for 45 seconds (or as indicated on your lamp)

5) Apply first coat of Nail Polish

6) Let completely dry, then apply second coat of Nail Polish

7) After Nails are completely dry (no tacky) apply Gelish Top It Off top coat

8) Cure under LED Lamp

9) Use Nail Surface Cleanse to remove tacky residue

10) Use oil around cuticles to hydrate

** If necessary, apply two coats of Gelish Top Coat

Check out my quick tutorial to see how its done!!

Home Gel Manicure – Where do I start?

Hey there everyone!

Are you one of those people that love having nicely manicured nails but don’t bother because no matter how great your top coat, they’re all chipped within 3 days? Let me help you eliminate all of your chipping frustrations by introducing you to the home Gel Manicure!

What is a Gel Manicure?

A Gel Manicure is a Gel Polish rather than regular Nail Polish. Gel Polish formula doesn’t dry like regular Nail Polish. It cures under a UV lamp or LED lamp. This prevents chipping – for up to three weeks!

If you are wondering if Gel Polish is for you – visit your local Nail Salon and ask for a Gel Manicure. It shouldn’t cost you more than $20 – $25. After my first visit, I was hooked! I decided to invest in a home Gel Manicure set to save myself money over the years and I love spending time doing my own manicure as well as friends and family.

This investment will cost you about $200 – $250 to start, but after you buy the kit, you only need to buy your polishes as you get bored of your colours. The great news is that your manicure can last up to three weeks, so you really only need a new colour every few paydays!

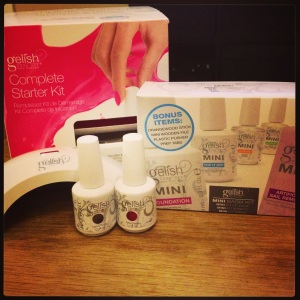
I bought my kit from Nailpolishcanada.com. This online company is based out of Richmond, BC Canada and usually ships via Canada Post within 1-2 business days.

 
IMG_2170

The kit contains two regular sized polishes (Gossip Girl and June Bride) as well as mini bottles for all of your ph bond, foundation, top coat and nourishing oil. The LED light is a Pro 45. Only need to hold your hand under the light for 45 seconds for each coat. The only thing this kit is missing is step by step instructions for beginners. But you don’t need to worry about that! Stay tuned for a Gelish beginners tutorial by yours truly.

Make sure you store your kit and bottles in a dark cool space – don’t let them anywhere near natural UV light as they will start to cure and won’t be any good!

Have fun with your starter kits! Happy Manicuring!

Nail Polish Crazy!

Hey there old friends! So – I’ve got this obsession with nail polish! And over the year I’ve been really stocking up my collection! Let me share a few of my favourites with you!

All polishes have had one coat of China Glaze Base Coat and one coat of OPI Top Coat!

Image

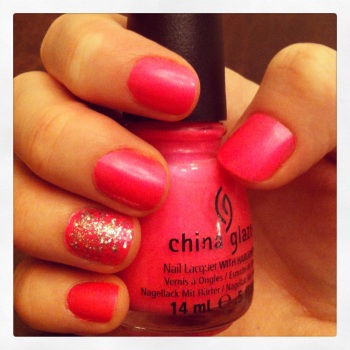
China Glaze – Pink Voltage (Neon) and China Glaze – Nova

IMG_1271

China Glaze – Call Of The Wild

IMG_1285

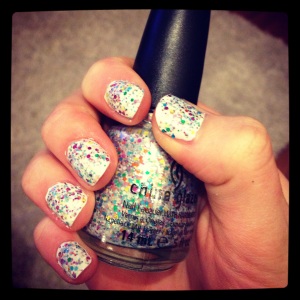
China Glaze – It’s A Trap-Eze! on top of China Glaze – White on White

IMG_1291

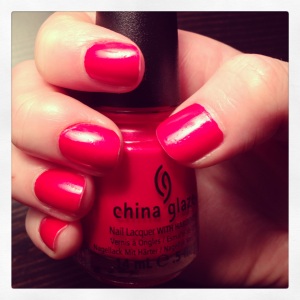
China Glaze – Snap My Dragon

IMG_1304 IMG_1441

China Glaze – I’m Not Lion (gold) and China Glaze – With Love

With Love by China Glaze is my favourite Nail Polish colour in my whole collection. Visit Nailpolishcanada.com for a huge selection of Nail Polish colours. This company is great! They are based out of Richmond, BC and ship via Canada Post within the next business day. I have been so happy with their services so far and will continue using them going forward.

Stay tuned for my next post where I venture into Gel Nail Polish!

DIY Summer Cooling Packs

I stumbled across this great idea for keeping yourself cool in the summer. Thanks Sew Woodsy for this great idea!
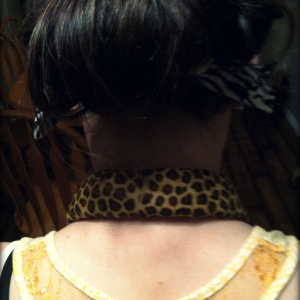

You’ll need:

  • Sewing Machine
  • Fabric
  • 1 Safety Pin
  • Straight Pins
  • Iron
  • Scissors
  • Measuring Tape or Ruler
  • Funnel
  • 1 tablespoon measuring cup
  • Water Gems (water absorbent polymer beads-these can be found at Michaels in the floral section)
  • *Optional* Scented Oil

Step1:

Cut your fabric to be about 4 inches wide and approx. 40 inches long. My fabric wasn’t quite wide enough (only 20 inches long). So I cut it 8 inches wide, then cut that piece in half so I had 2 4×20 in. pieces. I then sewed the 2 pieces together to be 4×40 in.
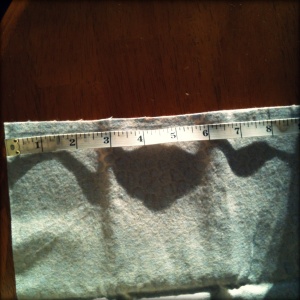
Step 2:

Fold your fabric the long way so the good side of the fabric is facing in. Take your straight pins and and pin all the way along the edge to keep them together. Then, iron your fabric flat so it will be easier to sew. Then, sew a seam up the side to close the edge up. When you are finished, remove the pins.
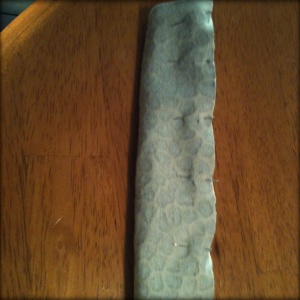
Step 3:

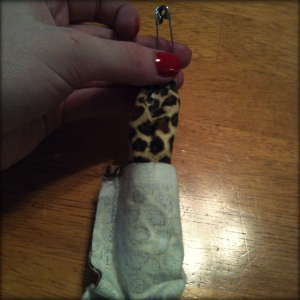
Take your safety pin and secure it to one side of one of the ends of your tube. Insert the pin into your tube and gently pull through. You should end up having a long tube with the right side of the fabric facing out.

Step 4:

You may need to iron your tube flat at this point depending on what kind of fabric you used. Find the centre point of your tube. For me, because I sewed 2 pieces of fabric together, I already have a line at the centre (which is at the 20 inch mark). From there, measure 5 inches to the left and insert your straight pins.

Step 5:

Sew over your pins to close that side of the tube in. Soon we will add the beads (we want them in the centre of your pack)

Step 6:

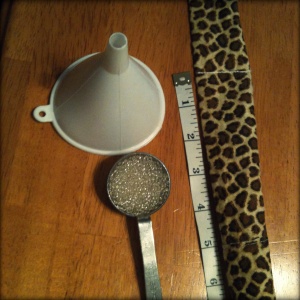
Get your tablespoon measuring cup and your funnel ready! Measure out 1 tablespoon of the Water Gems. If you’d like to add your scented oil, add some to your water gems now. Put the tip of the funnel into the long open portion of your tube and drop your water gems in.

Step 7:

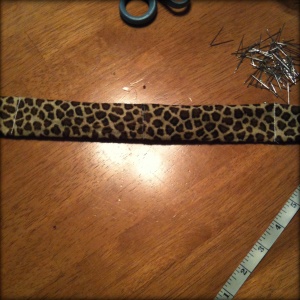
Now that the beads are inside of your tube, measure 5 inches to the right of the centre of your tube. This will give 10 inches of space inside your tube for your water gems to expand. When you have sewed the other end, you will have a section in the middle of your tube that is secured shut and full of water gems.

Step 8:

If you would like to sew up the remaining ends of your pack then you can do so now, otherwise your Summer Cooling Pack is ready to go! Submerse the centre of your pack in cold water for about 5-10 minutes. The water gems will absorb the water and will keep you cool for hours!

It doesn’t have to be worn around your neck! You can use it as a headband or as an anklet if you’d like!

Happy Summer Everyone!